Introduction
On the date of writing (10/2/2015), Kali Linux 1.1.0 has just been released, with the Raspberry Pi 2 board having been released last week.
As the there is no official Kali support for the Raspberry Pi 2 with no working images, and no Kali 1.1.0 support, we wanted to find out if it was possible to get Kali 1.1.0 working on the latest Raspberry Pi2 and the steps needed.
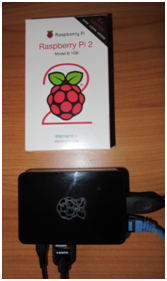
The Raspberry Pi 2 is small and low powered enough to be used as a penetration testing "drop box". It's a simple but fairly powerful device that can be inconspicuously plugged into a network and provide a penetration tester with the means to perform remote tests.
Background
Raspberry PI 2
The Raspberry PI 2 has significantly improved specifications compared to the Raspberry PI model B+, being approximately six times faster and having twice the memory.
The quick specifications are:-
900MHz quad core ARM Cortex-A7 CPU (~6x performance)
1GB RAM
4 port USB
10/100 Ethernet port.
Kali Linux 1.1.0
Kali Linux 1.1.0 was released on the 9/2/2015, and was described as a milestone release. With a new kernel patched for Wireless injection attacks, and improved wireless driver support.
Building a Kali Linux 1.10 image for the Raspberry Pi 2
To build the Kali Linux image we followed the build guidelines from the following link:-
https://github.com/offensive-security/kali-arm-build-scripts
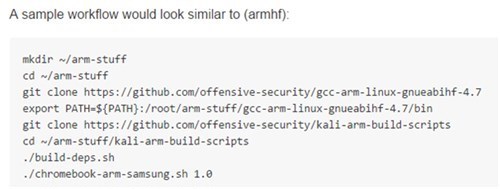
And slightly modified the workflow to the below:-
mkdir ~/arm-pi2
cd ~/arm-pi2
git clone https://github.com/offensive-security/gcc-arm-linux-gnueabihf-4.7
export PATH=${PATH}:/root/arm-pi2/gcc-arm-linux-gnueabihf-4.7/bin
git clone https://github.com/offensive-security/kali-arm-build-scripts
cd ~/arm-pi2/kali-arm-build-scripts
We then downloaded the Raspberry Pi 2 kernel configuration, to the current folder (kali-arm-build-scripts) using the following command:-
wget http://pastebin.com/download.php?i=Rv3zpsiv -O pi2_kernel.config(Special thanks to https://cyberkryption.wordpress.com/2015/02/09/kali-linux-on-a-raspberry-pi-2/ for providing this.)
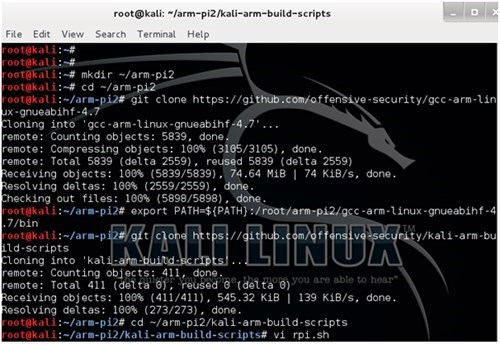
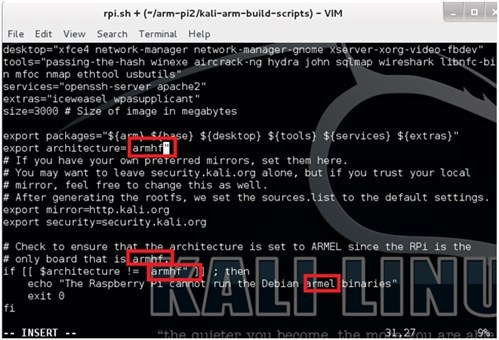
Then vi was used to modify the rpi.sh script as below:-
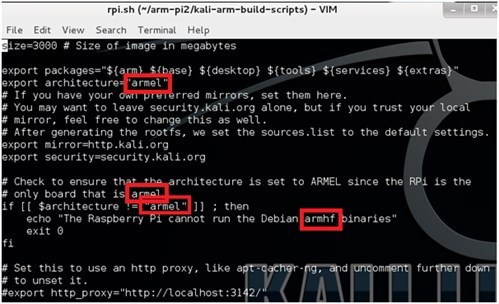
Replacing "armel" above with "armhf" as below, as the Raspberry PI uses the armhf architecture.
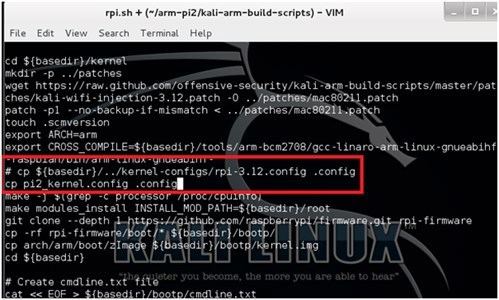
We then continued to modify the rpi.sh file to load the new kernel configuration as below, and then saved the modified rpi.sh to disk. (with vi :wq).
We then ran./build-deps.sh
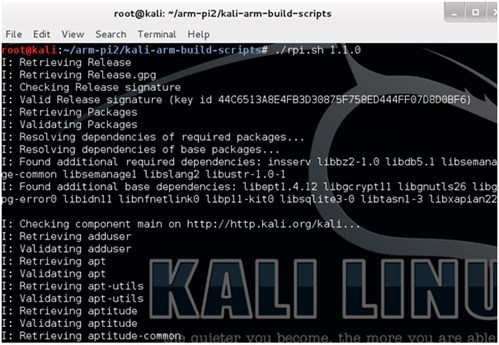
And built the image using version 1.1.0 of Kali Linux:
./rpi.sh 1.1.0
The image file kali-1.1.0-rpi.img,xz was produced:-

For the next steps we used a Windows laptop with a built in SD card reader, to write the created img to a high capacity SDHC card.
We extracted the xz file to an img file using the Windows 7-zip program, and then used "Win32 Disk Imager" to write the img to the SDHC card. The Linux equivalent would be to use the unxz utility to decompress the xz file, followed by a similar command - dd if=kali-1.1.0-rpi.img of=/dev/sdb bs=512k.

Configuring Kali Linux on the Raspberry Pi 2.
Expanding the image to the size of the flash card
Next we inserted the written SDHC card in the Raspberry Pi 2, and made the other necessary connections like attaching a keyboard/monitor/mouse and plugging a DHCP enabled network cable into the Raspberry Pi. And then powered the Raspberry Pi up, logging in using the default credentials root/toor:- (we suggest changing the password).
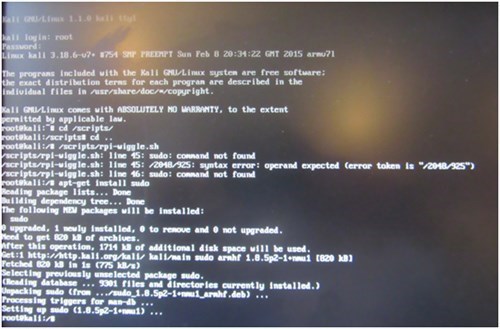
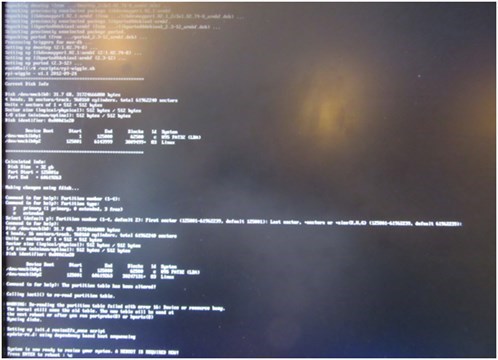
As we wanted to use the full flash SD card size, as the full kali Linux build which we want to install is too big for the default image, we then expanded the image to the full size of the flash SD card, using the following commands :-
/scripts/rpi-wiggle.sh
However the sudo and parted programs were missing, so we had to use apt-get to install them:-
apt-get install sudo
apt-get install parted
Then the rpi-wiggle.sh program was able to run:-
/scripts/rpi-wiggle.sh
After this the Raspberry Pi was rebooted, ready for the full Kali build to be installed.
Installing the Full Kali Linux build
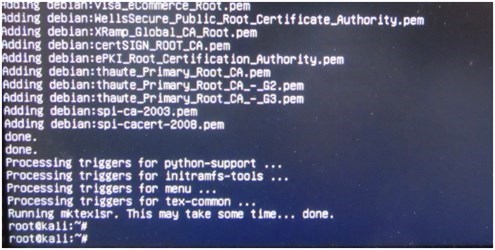
Next we installed the full Kali Linux build, by issuing the following commands:-
apt-get update
apt-get install kali-linux-full
After downloading and installing files, and answering a number of configuration screens, the installation completed and the command prompt was displayed:
Installing and configuring the SSH server
The next step was to install and configure the SSH server. Though we needed to install chkconfig first:-
apt-get install chkconfig
Then remove the run levels for SSH:-
update-rc.d -f ssh remove
And then load the SSH defaults to run level:-
update-rc.d -f ssh defaults
Next, we checked that the SSH server was up and running:-
chkconfig ssh
We suggest removing the default keys for the SSH server:-
rm /etc/ssh/ssh_host_*
We created a new set of public and private keys:-
dpkg-reconfigure openssh-server
Then restarted the SSH server:-
service ssh restart
Final notes
Choosing the flash memory card
We used a SDHC for compatibility sake, which limited us to a maximum capacity of 32GB. Where possible select cards which have wear levelling, which distributes the writes across the memory, extending the life of the flash media. Finally we used high speed media, selecting manufacturers from a published Raspberry Pi compatibility guide http://elinux.org/RPi_SD_cards
The two cards we used are:-
SanDisk Ultra microSDHC 16GB - this did not support wear levelling though worked fine.
http://www.sandisk.co.uk/products/memory-cards/microsd/ultra-class10-with-adapter/?capacity=16GB
Integral UltimaPro 32GB Class 10 Micro SDHC - we found this produced occasional write errors.
Categories